
Detailed setup guide to your portal.
Give customers control over their communication with your company using a customer portal. A customer portal is a home behind a login where customers can view, open, and reply to their support tickets. Typically, customers can access the customer portal via the knowledge base, but you can also share a link to the portal directly with your customers.
Only conversations that are associated with a ticket will appear in the customer portal; this includes messages sent to a chat, Facebook Messenger, form submission, or connected team email channel. Emails sent to or from an email address that is not connected to the conversations inbox will not appear in the customer portal.
You must have Customer Portal settings access to set up the customer portal. This setting can be turned on in your Users & Teams settings on the Account tab.
Set up a customer portal
Before you turn on your customer portal, you need to connect a domain, set up your login and authentication method, and customize your consent to process language. You can also manage the customer portal's branding, preview the ticket listing and ticket detail page templates, and add a support form to your customer portal.
- In your HubSpot account, navigate to Service > Customer Portal.
- Enter a page title. This is the title that will appear in the browser tab when customers are logged into the customer portal.
Connect a domain
Please note: you cannot use the default hs-sites domain to host your customer portal.
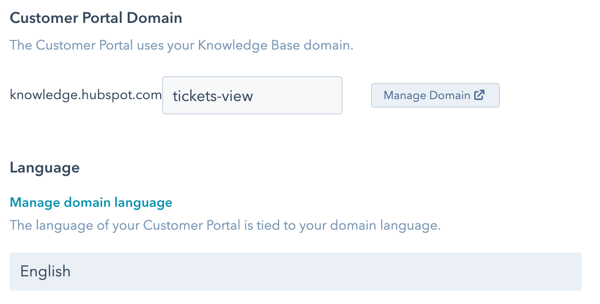
The customer portal will appear in the primary language set for your domain. If you change your domain's language in your Domains & URLs settings, the customer portal language will also update. Click Manage domain language to make changes to your domain. Learn more about HubSpot's language offerings.